


 Lomography
A while ago my attention was drawn to a type of photographic effect called Lomography. The name comes from either the camera manufacturer or the name of the camera - I can't remember which.
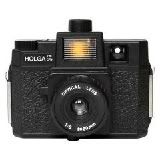 Lomo Camera
Lomography emphasizes casual, snapshot photography. Characteristics such as over saturated colors, off-kilter exposure, blurring, "happy accidents," and alternative film processing are often considered part of the "Lomographic Technique."Users are encouraged to take a lighthearted approach to their photography, and use these techniques to document everyday life, as the Lomo LC-A's small size, simple controls, and ability to shoot in low light.
You can buy a Lomo camera which will give various effects such as fish eye or 4 photos in one like I've shown below.
Lomographic Cameras
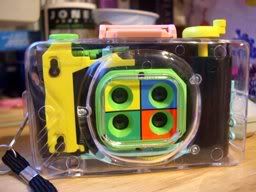 This camera takes 4 images but you can get fish eye ones as well
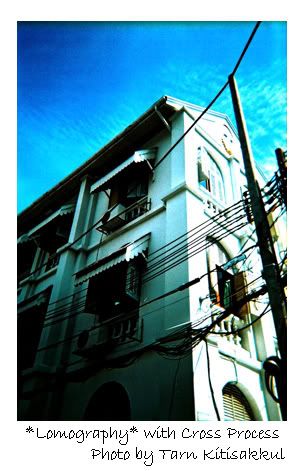
Examples of Lomographic images

Faux Lomography
Faux lomography is basically taking a normal photo and post processing it to give the Lomographic effect. The problem with this technique is I find that all the instructions are for Photoshop and I have Paintshop Pro. So I set about to find my own technique. My technique is not perfect and I'm looking to refine it if anyone has ideas.
Make a vignette - I use the Levels function
Increase contrast by 20%
Increase saturation by 20%
Make a new layer with opacity 40%
Flood fill the new layer with black paint
Merge layers
Do a gaussian blur with the factory default setting
Add noise at 10-20% depending on image size
Cut outline with rounded rectangle selection tool if you want
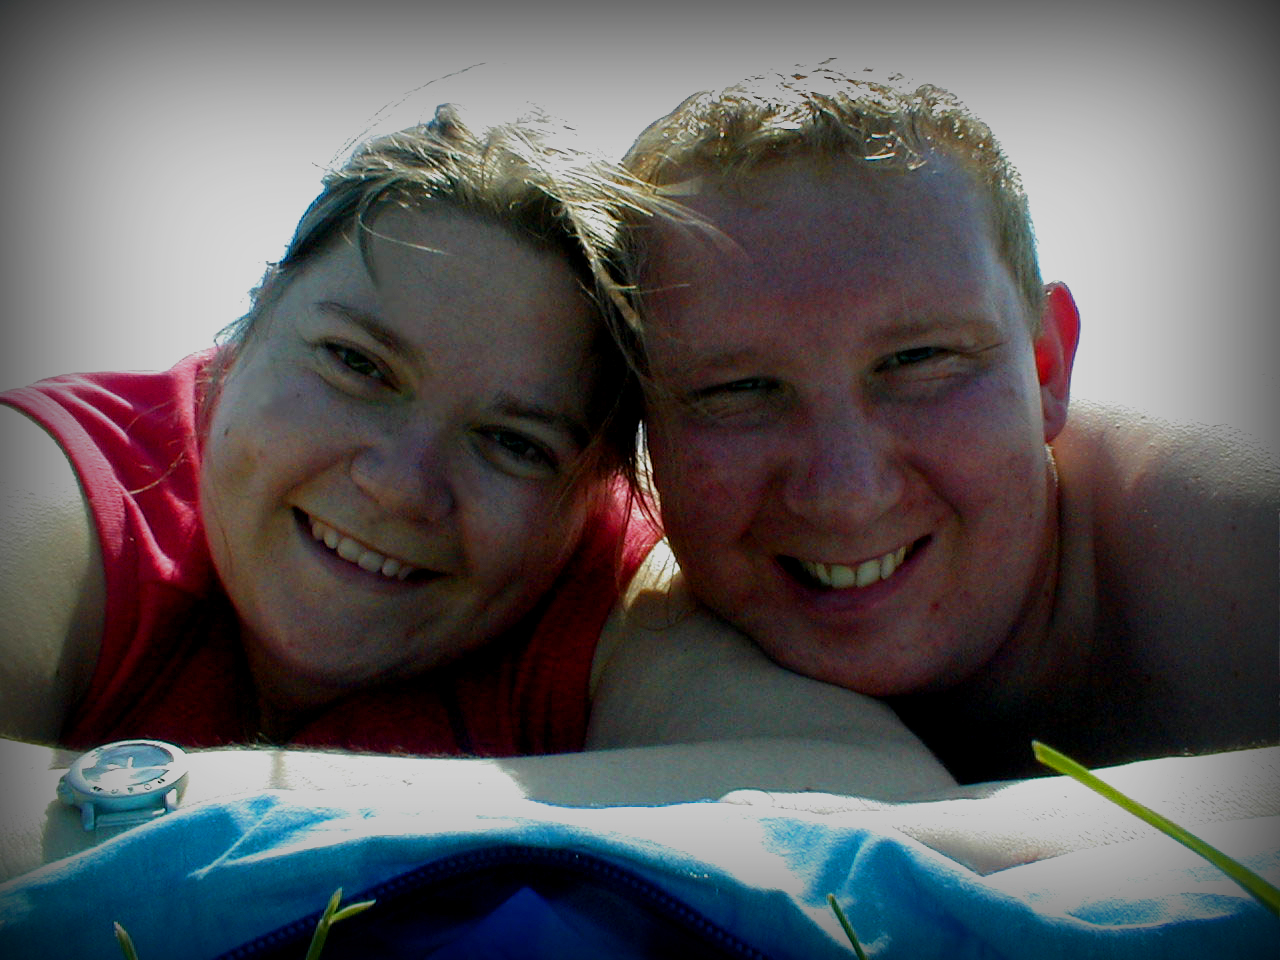
This is the effect the faux lomo technique gives me.
Links
Lomography on wikipedia
Lomographic images on Flickr
Lomography rules


No comments:
Post a Comment